If You Give a Girl a Planner: Bookish Notebook
Nov 2, 2020
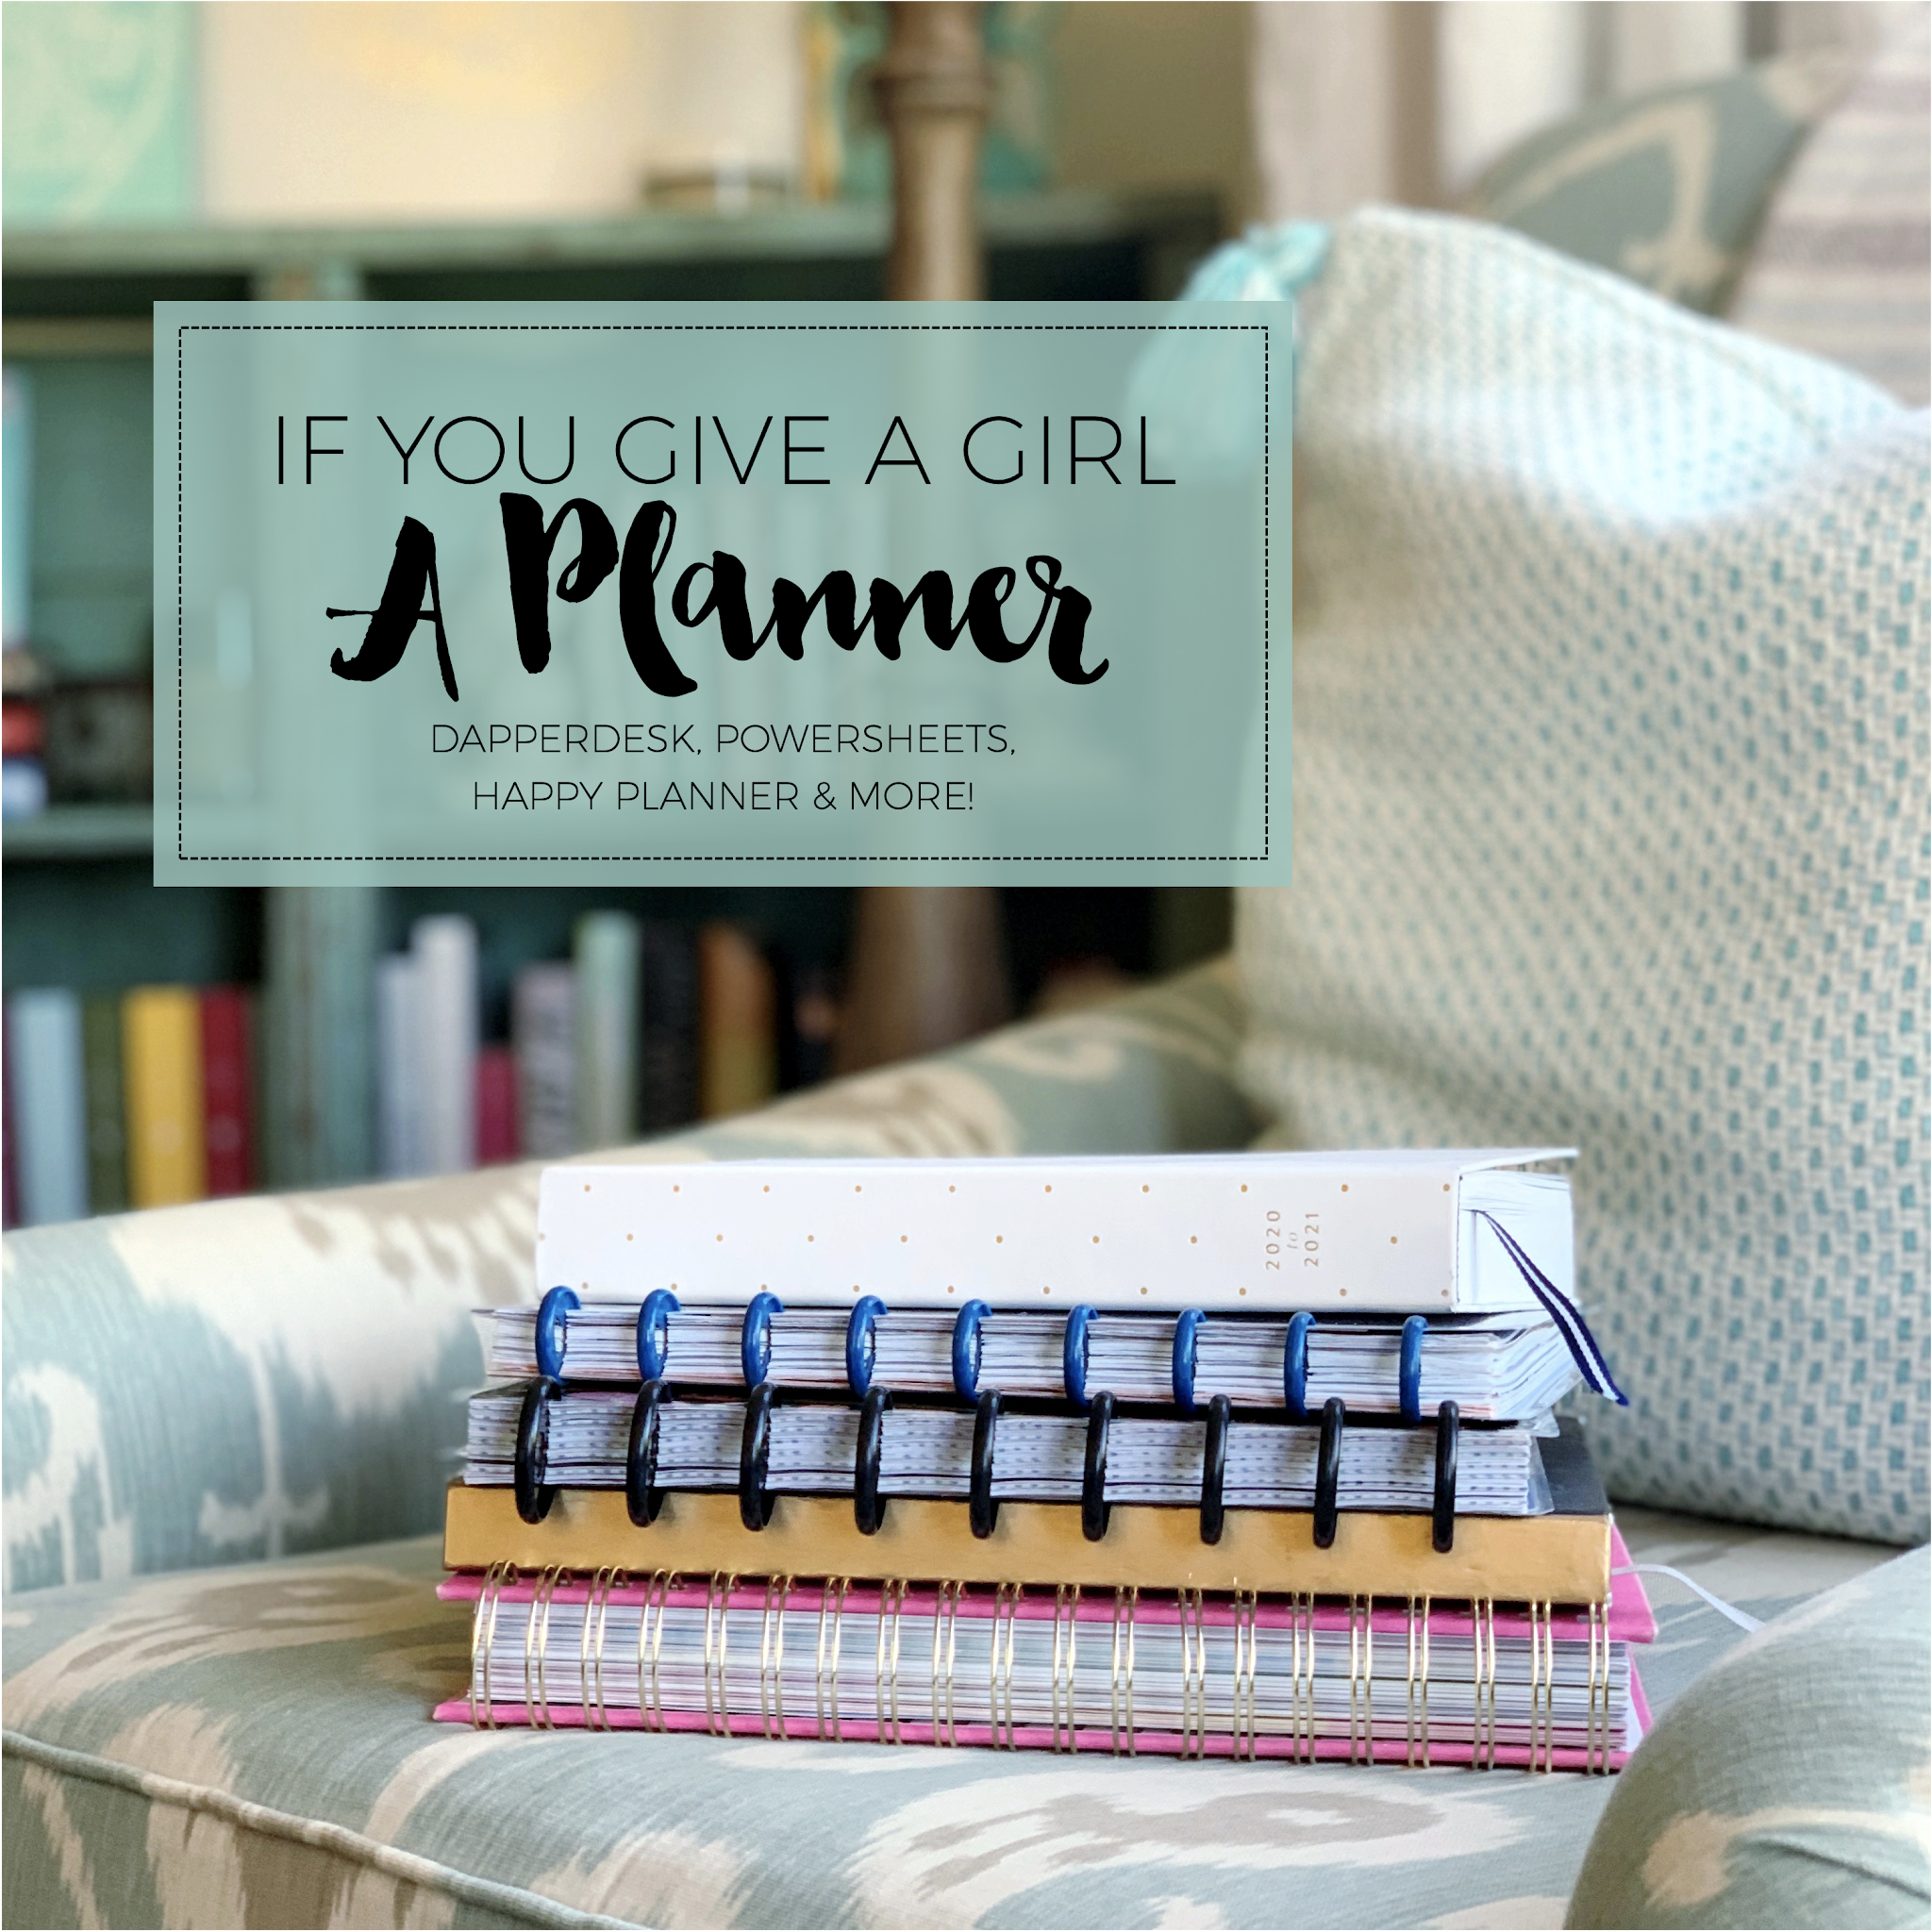
If you give a girl a planner, she's going to ask you for a pen, some stickers... and maybe a notebook to go with it. I'm so obsessed with all things paper! I love trying new things and then blogging about it. So, for the last few days, I've shared my 2020 planner lineup. I talked about what I've been using for my daily life, personal goals, and reading journal. Today, I'm wrapping it up with my favorite: my bookish bullet journal / notebook!

This notebook is from The Happy Planner line called Happy Notes. They come in different sizes, and this is the Classic. I believe they all have the mini size rings, three tabbed dividers, and 60 sheets of paper that are either blank, lined, or dot grid (depending on the notebook you choose). I usually buy dot grid because that's my favorite, but you can also buy refill paper in any style if you fall in love with a certain notebook but want different paper.
I usually refer to this as my bookish bullet journal, even though that isn't quite accurate. I tried bullet journaling but never got the hang of it. The format became time consuming for me because I tended to overthink it, but I loved the concept. That's when I got the idea to use my Happy Planner as a pseudo-bullet journal. Instead of drawing everything by hand, I'd make printable pages. And with the disc binding, it was easy to move pages around until I had it just right. It's basically my bookish notebook that's completely customized to me.
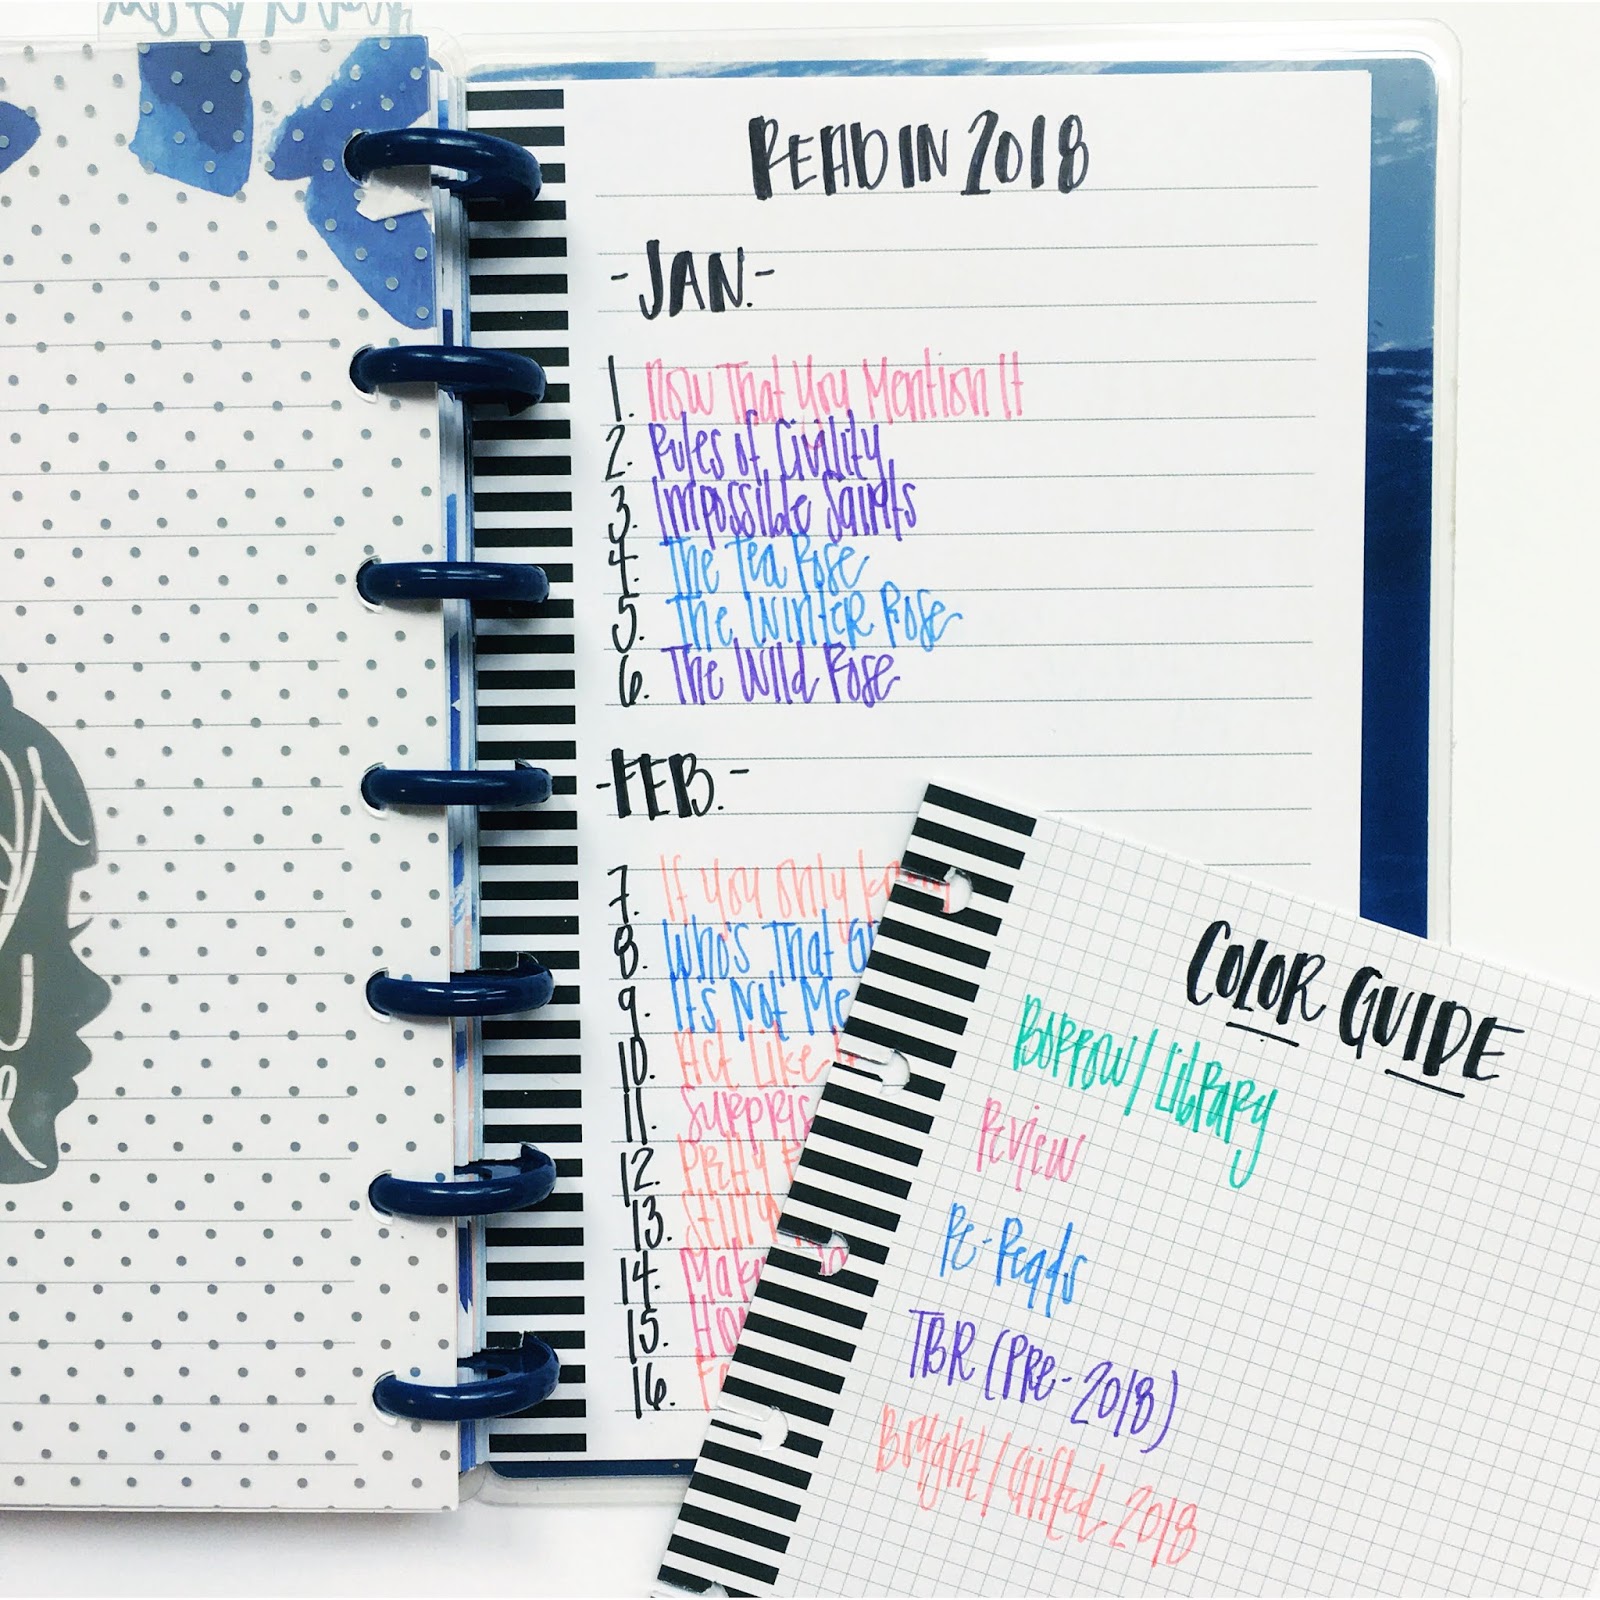
When I posted about this notebook back in 2018, I used actual Happy Planner pages for the bulk of my blog planning. Now, my entire notebook is printables that I made for myself. I'm so excited to show you some highlights! My reading notebook is divided into three sections, and I'll show you photos of a handful of pages from each section + will list out what other pages I've included in each. Here are the three sections:
+ Section 1: Challenges, TBR, and Trackers
+ Section 2: Blog Post Planning
+ Section 3: Brainstorming
Let's start at the very beginning!
SECTION 1: CHALLENGES, TBR, AND TRACKERS

GOODREADS CHALLENGE
The very first page of this section is for my Goodreads Challenge. I make my goal 100 books, even though I typically hit it long before the end of the year. I love having a goal but don't want to make it such a challenge that I become too focused on the quantity of what I'm reading versus the quality. When I finish a book, I draw a heart if it was a 4.5/5-start read, a check mark if it was a 3.5/4-star read, or a blue x if it was 3 stars or below. It's fun to see a quick glance to see how I've felt about what I've been reading lately. When I meet the goal, I fill in the date at the bottom.
MISC. CHALLENGES
Next are the pages for the various challenges that I've set for myself or joined. This changes from year to year! There are more pages than the two above, but they're all similar. Here's what you'll find in my 2020 notebook:
+ 2020 Re-Read Challenge: My goal was to re-read at least 12 books, so one per month. I had space to fill that in + an area to brainstorm potential re-reads. I'd completed this goal by May.
+ Picky Pledge Challenge: This is something Alexa and I do every year, which you can read about here. I've got all 12 categories listed with space to write what I've read for each. I've still got a few left to complete!
+ Non-Fiction Challenge: My goal was to read 12 non-fiction books in 2020 because I own a lot of non-fiction but don't frequently reach for it. I shocked myself by completing this goal in June (the letter after each title indicates the month I finished the book) and have finished an additional 16 non-fiction books since then. I'll redesign this page for 2020 so that it isn't tied to a specific month, since that wasn't how I ended up using it.
+ Read or Die Challenge: Alexa came up with this back in 2018, and I decided to do it, too. At the start of a new year, I list anything that's been on my shelves from before the previous year (for 2020, anything I've owned since 2018 or before) with the goal of reading it before the end of the current year. If I don't finish it, the idea is to cull it.
+ My 10 in 20: After my successful 10 in 2019 list, I decided to do it again in 2020. I picked 10 books from my TBR to focus on finishing this year. So far... this year might be a bust. I've only read three and DNF'd one. Whoops!
After my Challenge pages, I have several pages devoted to my TBR based on the format of the books.

TBR: PHYSICAL BOOKS
First, I have pages dedicated to my physical TBR. I have three bookshelves in my notebook: one for my Non-Fiction TBR, one for Adult Fiction, and one for Young Adult & Middle Grade Fiction. The latter is pictured above. For all my TBR pages, I only write down the titles of books I own. I use Goodreads to save books I'm interested, but I only want to actively track the things I've purchased and plan to read. When I buy a book, I add it to my shelf. Once I've read it, I color it. If I DNF it, I just color it black. And when I fill up a page? I print a new one!

TBR: E-BOOK
After making the bookshelf, I decided I wanted something else for my e-books. So, I made a Kindle TBR printable! I write digital review copies down on one printable and digital books I've purchased on their own. Since I try to read review copies by pub date, I like separating them. I do a green check when I've read a book and a red X if I DNF it.

TBR: AUDIOBOOKS
And finally, my favorite page in the TBR section is the audiobook printable I designed! I'm most proud of this page because I was able to replicate the look of the Audible app. I write down the title, author, narrator, and length in those spaces. And in the spot where the book cover would go, I color it orange when I'm done listening to a book and write down the date I finished it. And I only use this for audiobooks that I own, not library books!

SERIES TRACKER
The last few pages in this section are related to tracking things! Here's what I've got currently:
+ Book Spending Tracker: What I bought, where I got it, and how much I spent on it
+ Review Copy Tracker: Title, release date, and I've read, reviewed, posted about it, and sent to publicist
+ Series Tracker: Series name, author, number of books in series, and color what I've read so far
+ Movie/TV Tracker: Title, number of episodes (if TV), and whether or not I've watched it
Okay, that's all for my challenges, TBR, and trackers! Now, it's time for the blogging section.
SECTION 2: BLOG POST PLANNING

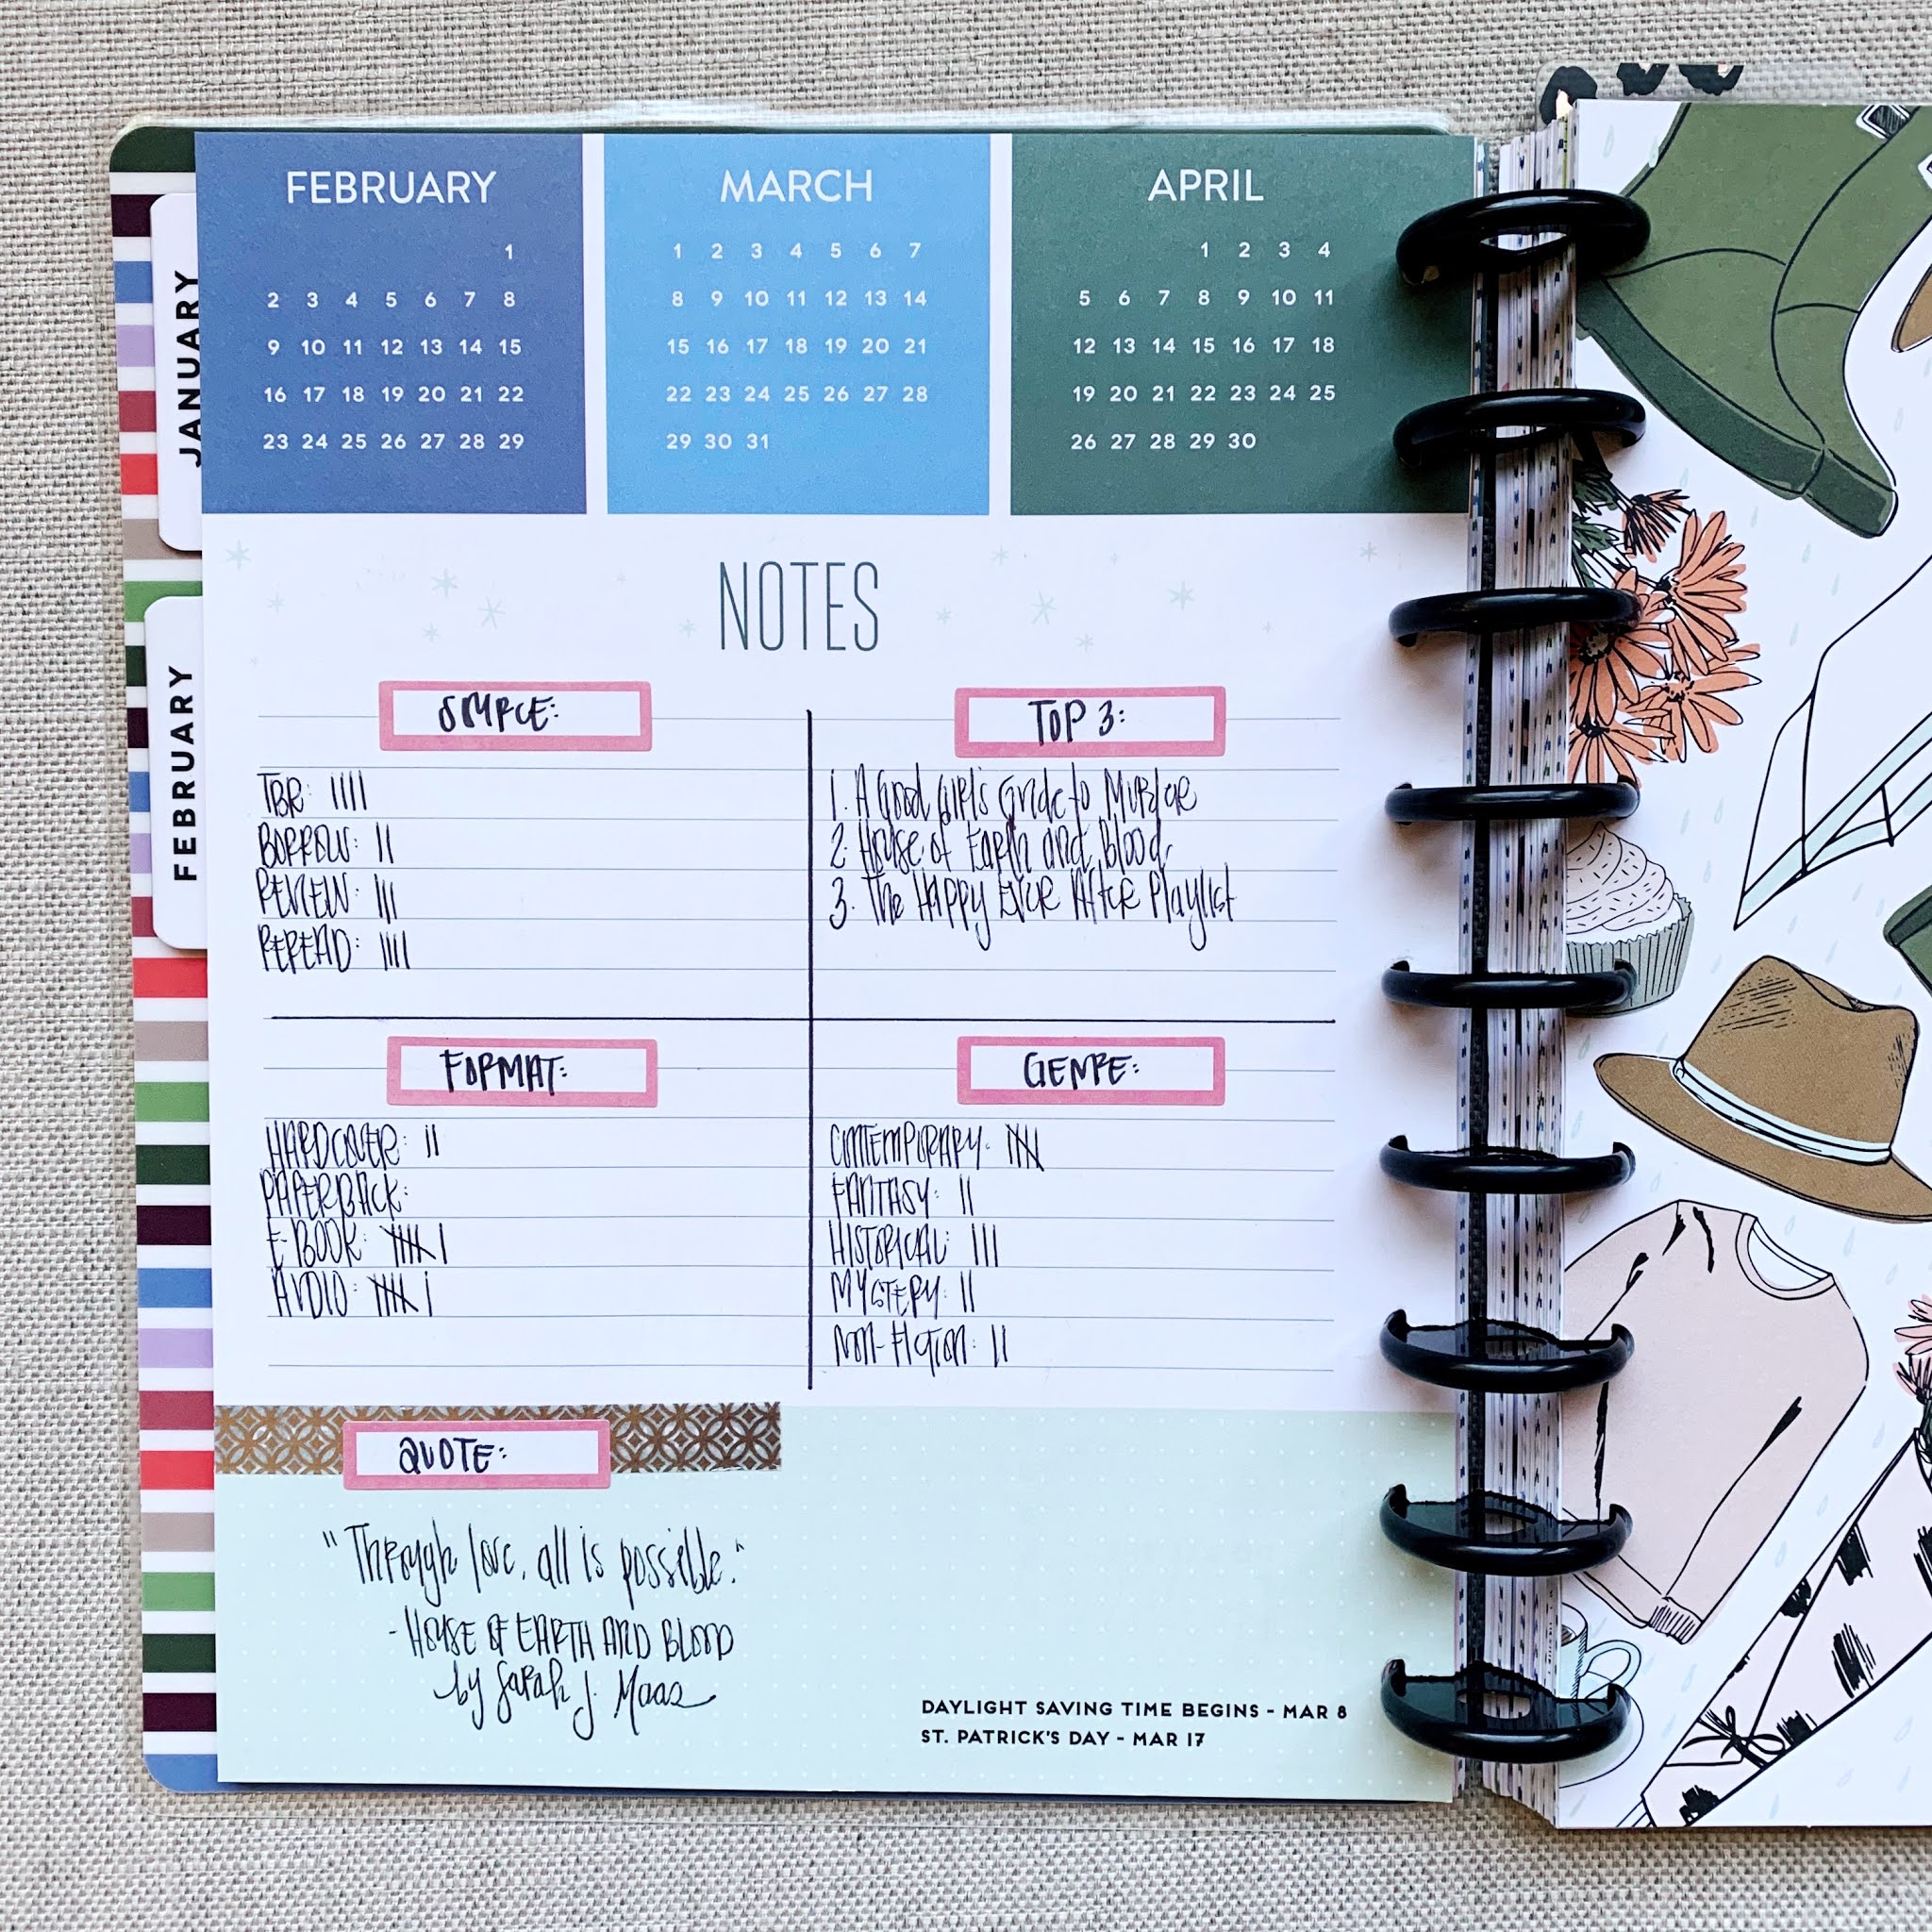
MONTHS AT-A-GLANCE
With my goal to post on the blog twice a week, this is a quick way for me to see how I'm doing at a glance. With two months per side, I love that it only takes up three pages of space. This is my first year using these page, and I'm liking them so far! I don't plan out potential blog posts – just write down things I've published.

MONTHLY RECAP
I use the same categories in my recap posts every month, so I created a printable that I could fill in throughout the month. It's made it so much easier when it's time to write the post because I'm not looking in various places (photos / my planner / Goodreads / Spotify / etc.) to joy my memory. It's double-sided, and you can see both above.
The front has four categories: Loved (favorite memories), Read (just favorites, not a full list), Heard (music or songs I had on repeat), and Watched (TV or movies, old or new). For 2021, I'm going to try adding a fifth category: Bought, for writing down favorite purchases from the month. The back is for the books I acquired, since I always include that in my posts. I've divided it into five categories: Bought, Gifted, Gift Card, and Review.

QUICK LIT
I don't think I had this page in 2018, and it's one of my favorite additions. I write down the title of books I finish that month, and then I have boxes to the right so I can mark when I've taken a Photo, written a Review, updated Goodreads, and Logged it in my reading journal. It's a simple but effective way to stay on track with reviewing what I've read.

END OF THE YEAR
There are some posts that I write at the end of every year, similar to the way I post a Recap and Quick Lit every month. So, it was worth it for me to create printables for those posts! The first is my My Year In series, and I have pages for:
+ My Year in Books: My favorite reads each month
+ My Year in Adventures: My favorite memories and activities from each month
+ My Year in Music: What I listened to each season
+ My Year in Movies & TV: Movies and tv shows that were new-to-me or rewatches
+ My Year in Beauty: My favorite makeup, skincare, and hair products
+ My Year in Obsessions: My favorite finds throughout the year + a new page for baby/big boy faves
Plus two additional pages:
+ Favorite New-to-Me Authors: A Top Ten Tuesday topic that I do every December
+ Perpetual Page-Turner's End of the Year Survey: To fill in potential answers throughout the year
And that's the end of my blogging section!
SECTION 3: BRAINSTORMING

DOT GRID BLANK PAGES
And finally, I have some blank dot grid pages behind the last tab. I love having blank paper to jot down ideas, flesh out discussion posts (like my favorite bookish memories in the photo above), or sketch potential printables to create for myself.
Do you have a bullet journal or bookish notebook?
Of all my planners, I think this one is my favorite!